
Thanksgiving is nearly here!
Are you ready for out-of-town guests and the big feast? At VOA Thrift, we’re stocked full of all the last-minute items you need for Turkey Day.
Thanksgiving is nearly here! Are you ready for out-of-town guests and the big feast? At VOA Thrift, we’re stocked full of all the last-minute items you need for Turkey Day. Whether you need more serving trays for your side dishes, curtains for the spare bedroom, or one more throw pillow for the couch, we’ve got you covered.
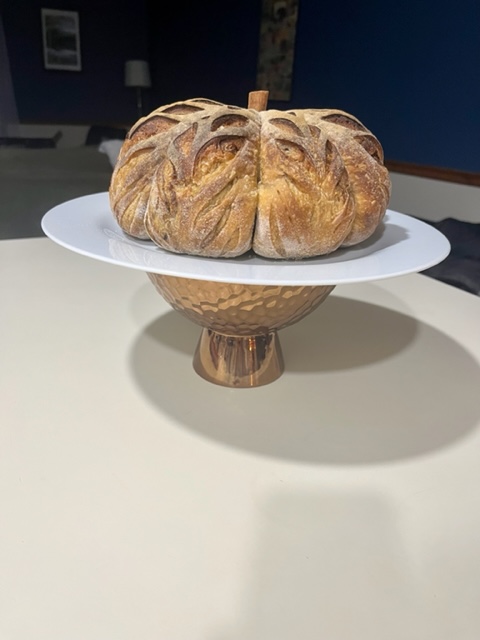
In this month’s blog, we’re sharing a quick and easy DIY project that will come in handy throughout the holiday season: A cake stand!
Three Easy Steps:
Step 1: Gather your items.
- Large plate or platter
- Unique candlestick, study teacup, or similar item that can be used as a base
- Gorilla glue
- Ceramic paint (if desired)
- Craft paint brush
Step 2: Paint your platter. (Skip this step if you don’t need to paint your platter)
Depending on the items you’ve chosen, you may want to skip to step three. This blogger loves the silver base and platter chosen for this project and we want to show it off!
Wipe the platter clean and apply paint with brush evenly. Follow instructions on the paint bottle if you need to add a second coat. The paint should be dry and ready for the next step in 20-30 minutes.
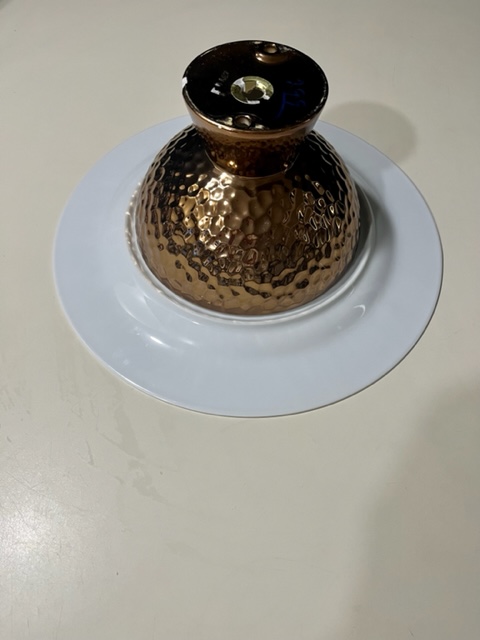
Step 3: Connect the base.
Mark the center on the bottom of you platter using the eyeball method or a ruler. Carefully add glue to the small end of your base item and firmly press to the platter. Set the platter to the table so the base is on top and wait for the glue dry.
Allow the glue and ceramic paint 24 hours to cure. And voilà, you’re good to go!
Don’t forget to keep VOA Thrift in mind throughout the holiday season for anything and everything you might need to decorate, entertain guests, or to curate the cozy vibe you desire.