
Happy National Craft Month to all who celebrate!
Whether you’re the craftiest of the bunch or you often sell yourself short, National Craft Month is for everyone!
VOA Thrift can help you achieve the crafts of your dreams, especially when it comes to upcycled projects. But, did you know that we also have a bulk craft materials section in many of our stores? You can benefit from previously loved project materials and make them your own. From wrapping paper and glitter tubes, to decals, binding materials, and fabric, you can let your crafty imagination run wild.
In this month’s blog, we’re celebrating National Craft Month by creating a DIY bird feeder just in time for spring!
Step One: Gather your items.
You’ll need:
- A large mason jar
- Twine
- Bird seed
- Beads, but only if you’re feeling crafty
- A painter’s stick, real stick, or other piece you can use for birdies to rest while they snack
- Glue, if you don’t think your stick will… stick to the jar
Step Two: Secure your stick (bird landing) to a side of your mason jar. This will end up being the bottom of the feeder. You can use glue if needed, but you should be able to wrap it with couple of good layers of twine to keep it in place. Tie off and cut the twine after this step.
Step Three: Create your ‘hanger’ using twine. Wrap a couple layers of twine between the mouth of the mason jar and the end, leaving enough slack to hang the jar.
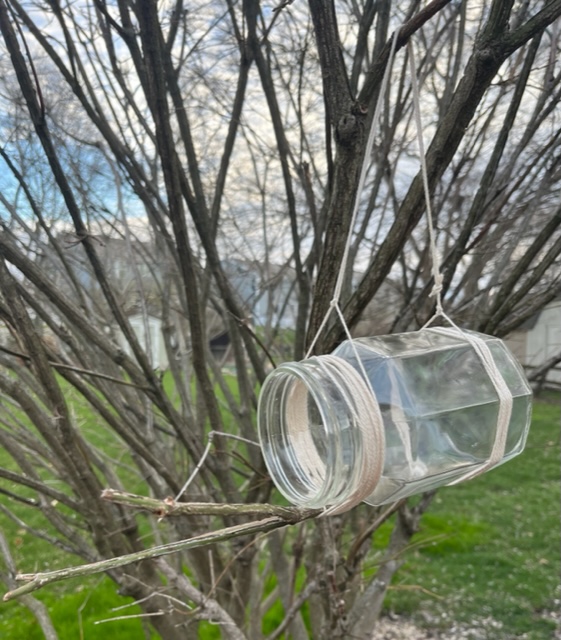
Optional: Add beads to the hanger twine. Step Four: Fill the jar halfway with bird seed so it does not come out the side when hanging.
Step Five: Feed the birds!
Keep the jar stocked and enjoy your new flying friends all spring and summer. Don’t forget VOA Thrift for all your crafty needs this month!