February is the month of love!
Sharing affection this time of year doesn’t always have to refer to significant others… you can also show love to the four-legged friends in your life, too.
February is the month of love! Sharing affection this time of year doesn’t always have to refer to significant others… you can also show love to the four-legged friends in your life, too. That’s why this month, we’re sharing a how-to tutorial so you can make a bed for your furry friends using items you can find at VOA Thrift. They need love and snuggles too!
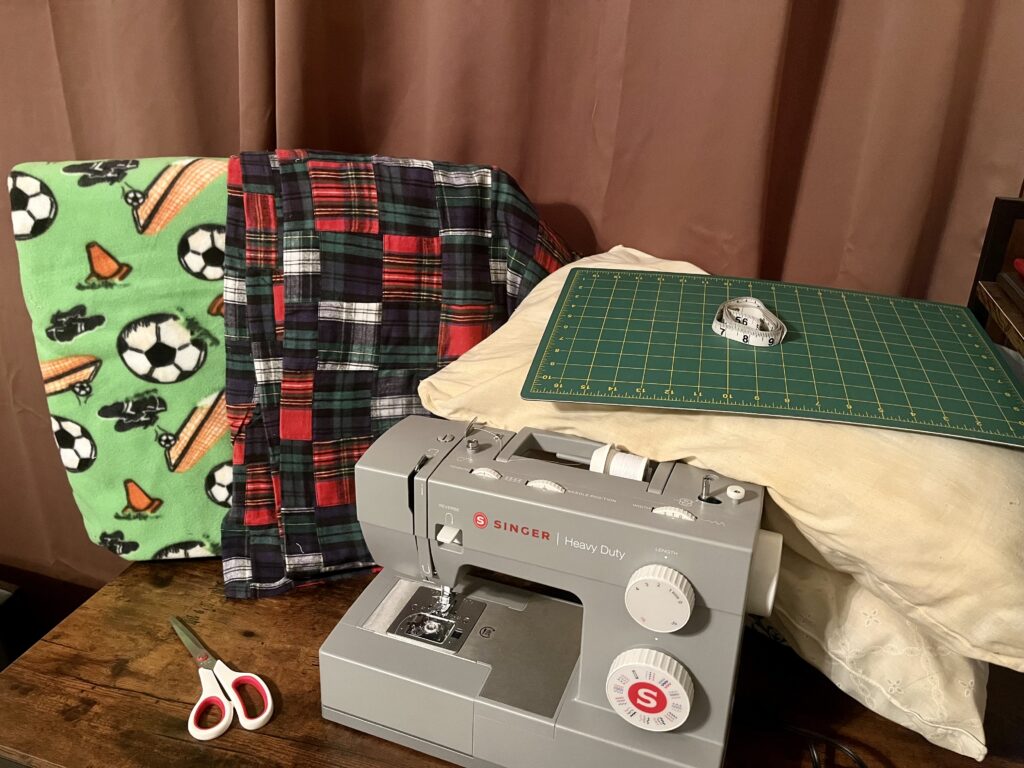
1. Gather the items you’ll need:
A cozy blanket or large piece of fabric. The size of the material depends on the size of your furry friend and if they like to sprawl out. Here are some general rules of thumb for your final bed size, keep in mind you will want two pieces of the sizes below, and fabric larger than this to allow for sewing space:
Under 25 lbs: 22″L x 17″W
25-50 lbs: 32″L x 22″W
51-100 lbs: 37″L x 29″W
100+ lbs: 56″L x 46″W
Pillows or stuffing. There are many options here. You can use older pillows you plan to retire from your home, stuffing from a craft store or pulled from pillows, or stop by VOA Thrift to grab the sizes you need.
Scissors for cutting fabric (fabric scissors work best but are not required)
Sewing machine (optional). Don’t worry, there is a way to do this project without a sewing machine!
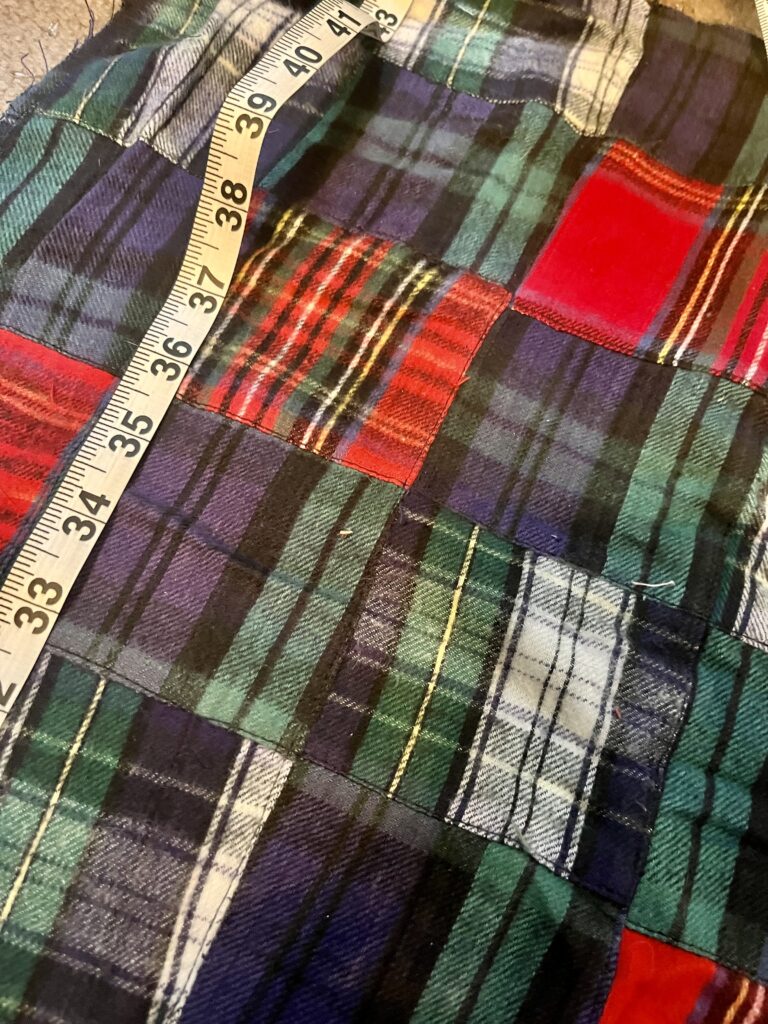
2. Cut your fabric accordingly using the sizing guide above,
and add roughly 3-4 inches to all sides if you don’t have a sewing machine, 1-2 if you do have a sewing machine. Remember you’ll need two pieces of each for the top and bottom.
3. Prepare your pillows.
Pull the stuffing or sew together any smaller pillows you may have picked out. If you don’t have materials to sew them together, that’s okay! Your creation will still be lovely and functional.
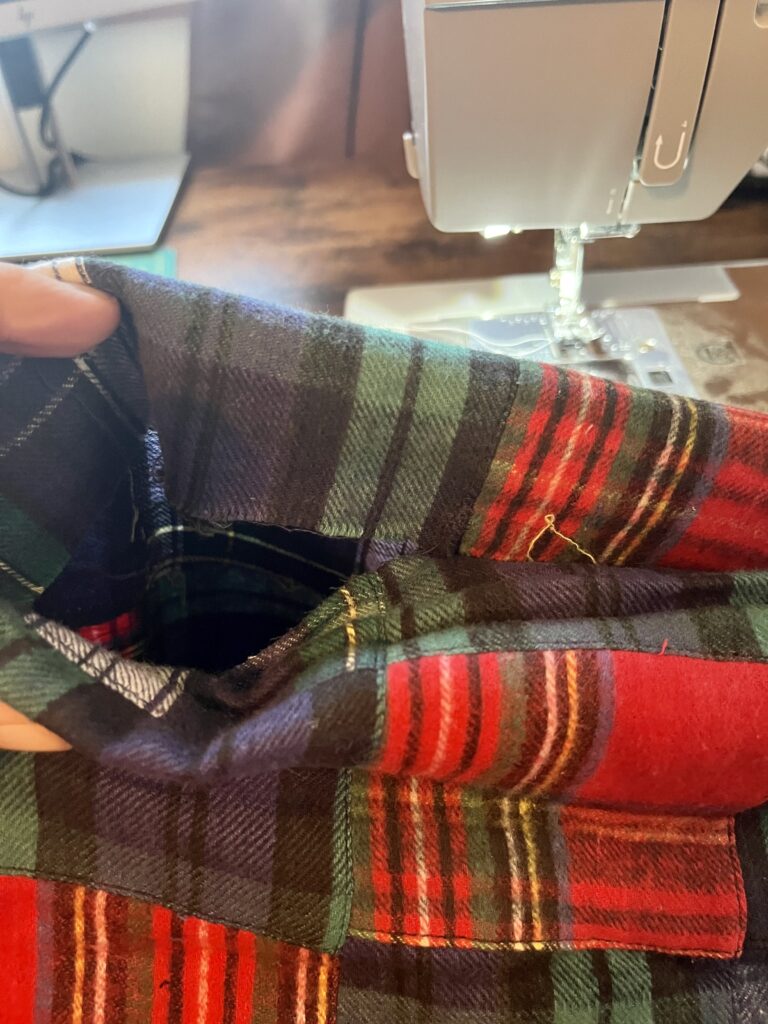
4. Match your two pieces of fabric together
with the “outsides” facing each other. When we’re done, you will turn it inside out to accomplish no-show a seam.
- Sewing method: Add pins around the edges and sew each side, leaving a gap where you can add the pillows.
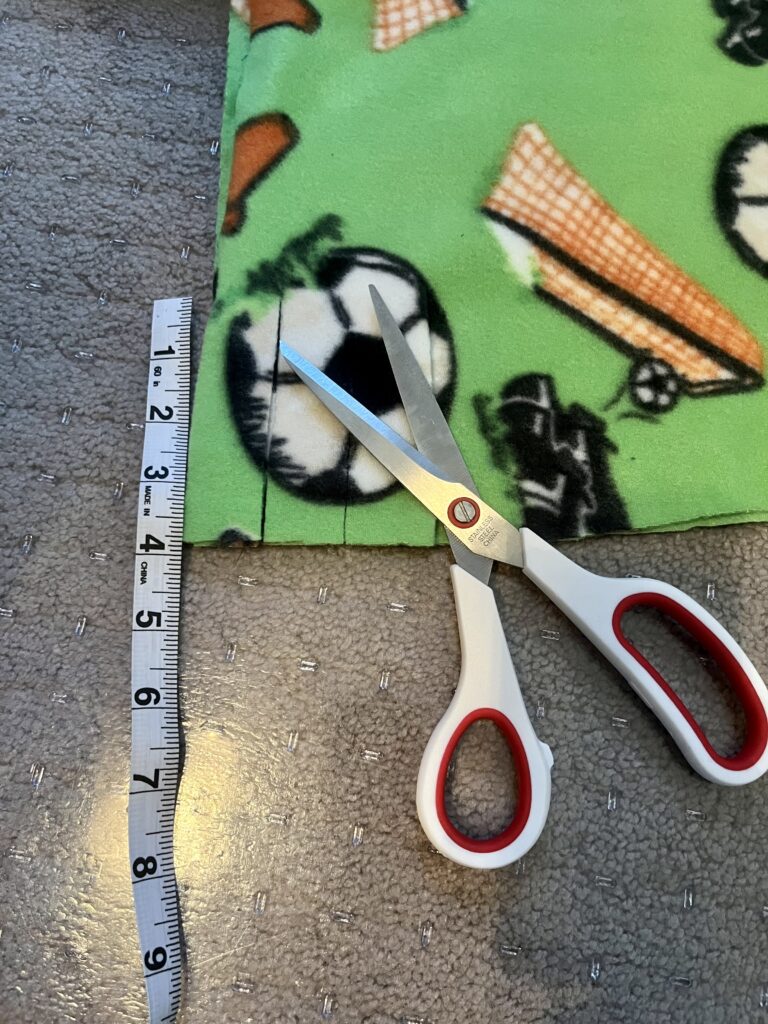
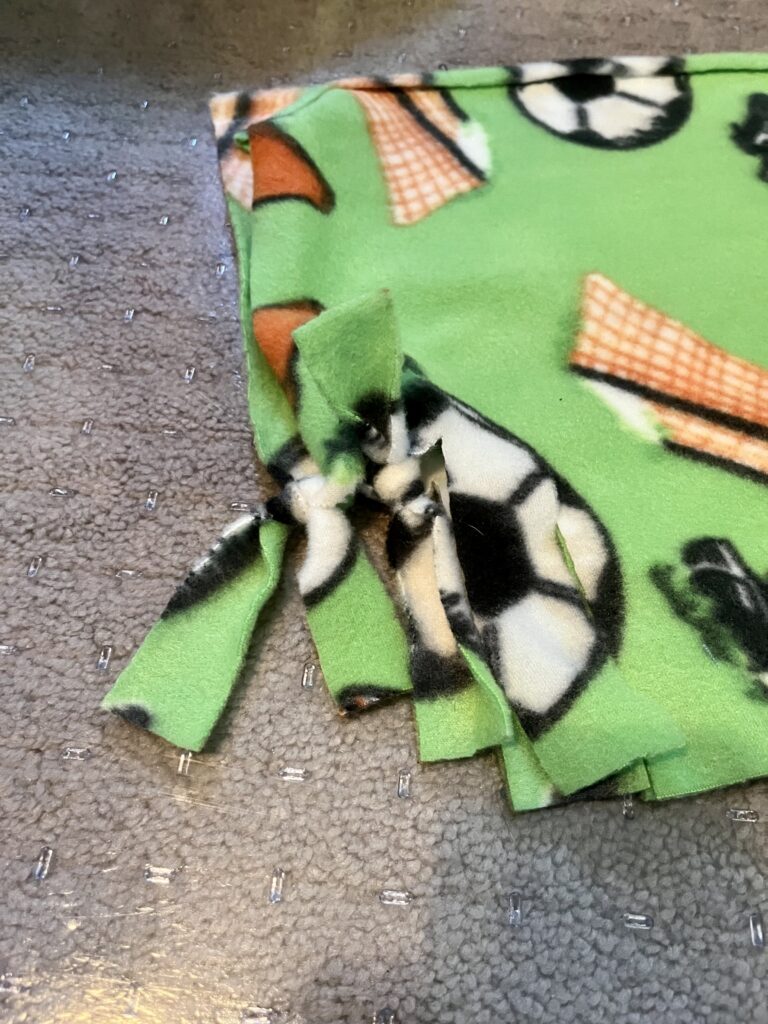
- No-sew method (tie): For this method, you don’t have to have the outsides facing each other if your furry friend isn’t a chewer. Cut 3-4 inches long and 1-2 inches wide into the material around all edges. Then, tie (double knot) the top and bottom pieces together (see example below). Make sure to leave a space where you can fit the pillows or stuffing.
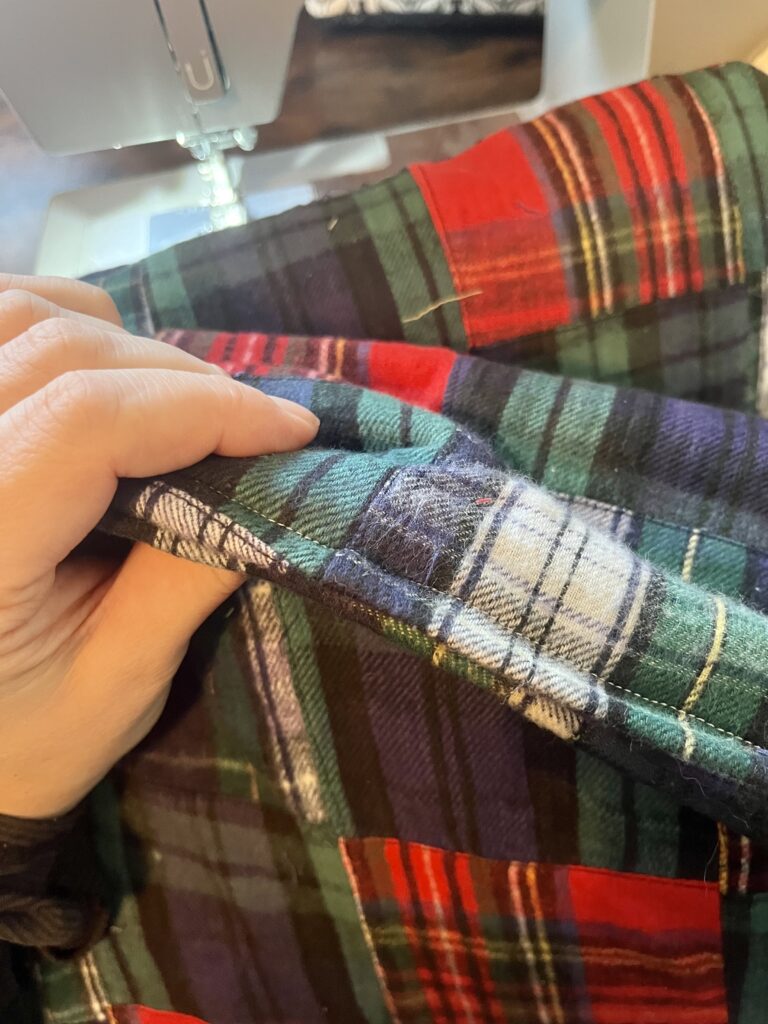
5. Turn the fabric “inside out”
through the hole you left so the colors you want are now on the outside.
6. Add your pillows through the hole you left open.
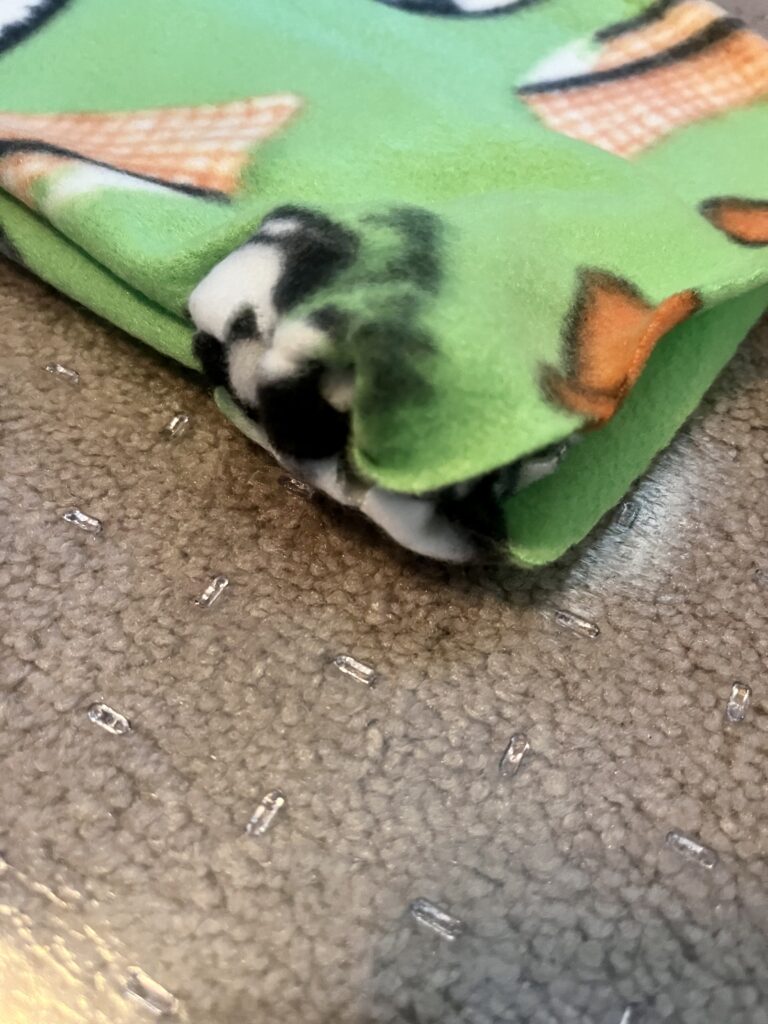
7. Close up the space using your sewing machine or tie method.
If you turned your ties to the inside, you can tie up from the outside and cut the ends short so there are only tight knots left.
And voilà! Give your four-legged friend your new creation and watch them enjoy!