
We’re back with a do-it-yourself project anyone can accomplish!
Say goodbye to tangled necklaces in a drawer and say hello to a unique jewelry display organizer.
We’re back this month with another do-it-yourself project that anyone can accomplish! Say goodbye to tangled necklaces in a drawer and say hello to a unique jewelry display organizer.
This project has plenty of room to choose your own adventure… whether you’re feeling creative and crafty, or you just need something to get the job done, we’ve got you covered.
Let’s dive in!
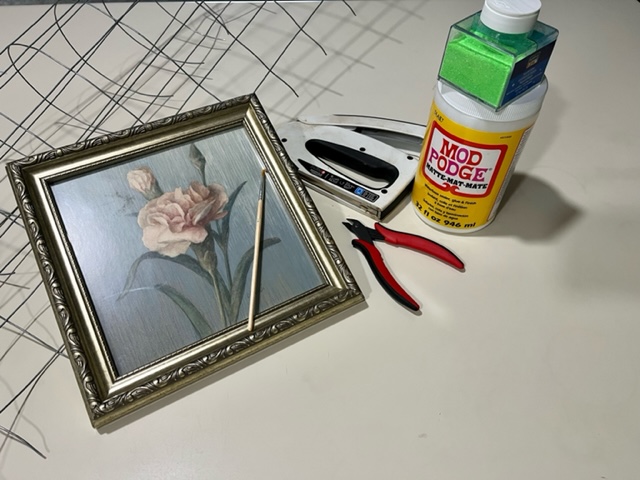
Step 1: Gather your items.
- Frame of any size (Make sure you can pop the glass out.)
- Choose one type of material to hold your jewelry: Chicken wire, thin wire, lace ribbon, mesh backing
- Staple gun or glue
- Crafty friends: paint, glitter, mod podge or other items to make a splash
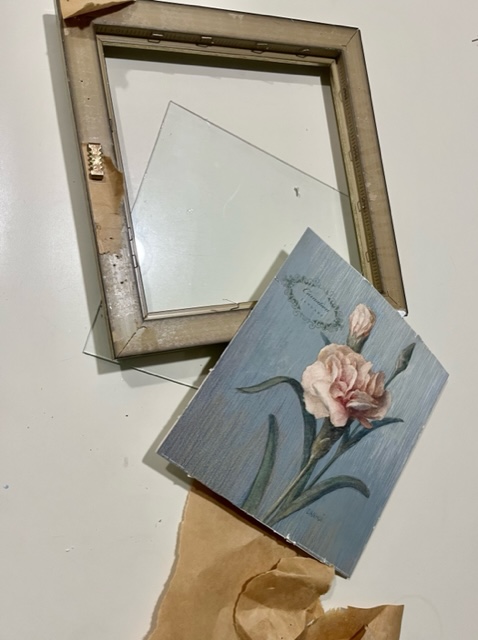
Step 2: Prepare your frame.
Remove the backing and glass from the frame. Clean off any dust to prep the outer frame if you plan to paint.
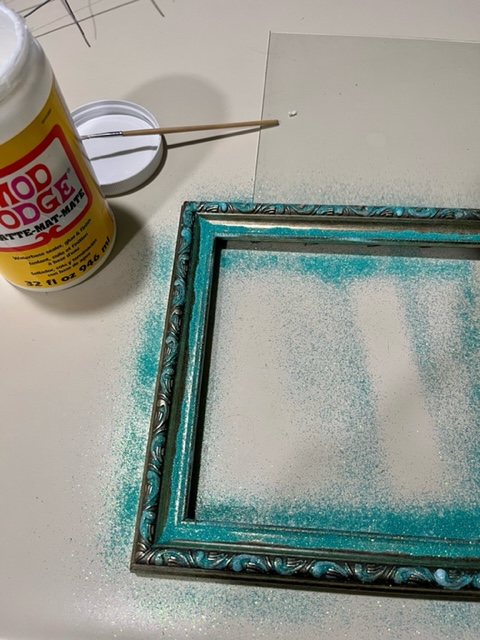
Step 3: (Optional)
This is when you’ll want to add paint or embellishments to your frame. This blogger loves the raised design on our example, so we’re going to add a bit of mod podge and highlight the pattern with glitter.
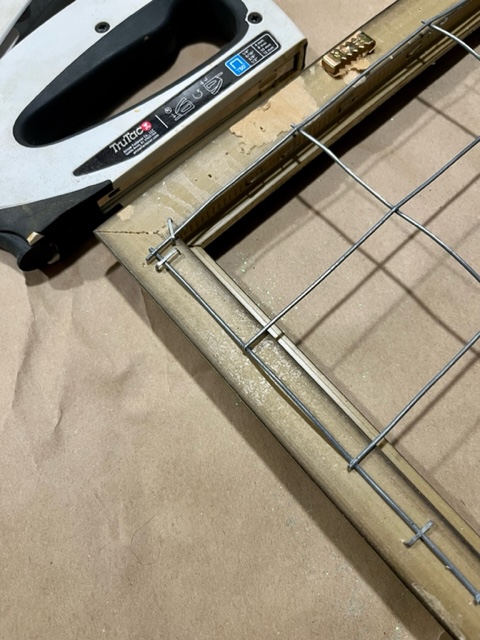
Step 4:
Cut your chicken wire or other material accordingly to fit in the frame space.
Step 5:
Secure the chicken wire to the back of your frame using a staple gun or glue. You may need to add a second coat of glue or additional round of staples to make sure it will keep your jewelry securely in place.
Step 6:
Hang your new project in your desired space using previously existing hooks in the frame or add a piece of decorative ribbon using staples.
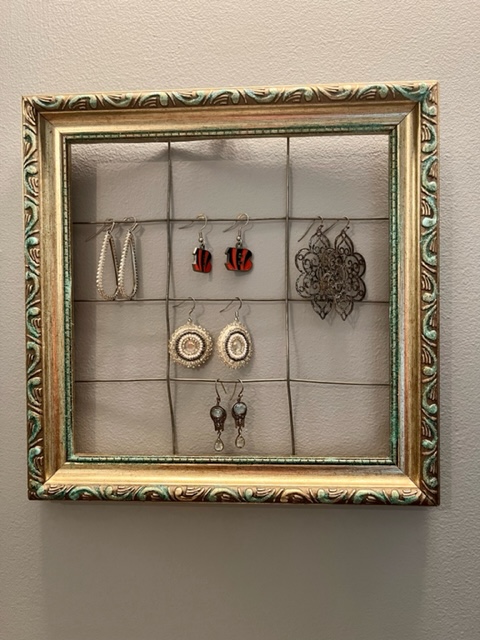
And that’s it! Use your necklace claps to keep jewelry secure, or you can find craft-sized clothespins on Amazon or a local craft store. In our example, earrings hang just fine on their own!