Summer is here and foliage is in full bloom!
In this month’s blog, we’ll walk you through a very simple DIY project: upcycled planters!
DIY Upcycled Planters
Summer is here and foliage is in full bloom! Whether you’re just starting to add flowers to your outdoor areas, or you’ve been at it since spring, it can get expensive to add new flowerpots into the mix. At VOA Thrift, we have amazing finds at great value, so you can find previously loved planters, or make your own. In this month’s blog, we’ll walk you through a very simple DIY project: upcycled planters!
Step 1: Think outside the (planter) box!
Stop by your local VOA Thrift to explore your options. Start in the baking section where there are lots of mixing bowls, cake pans, teapots, and other great finds. You can also explore trays, wooden boxes, and other items that are used to hold other items. If you’re looking to add a fun splash to your outdoor area, take a look in the shoe section for rain boots!
When looking for your new planter, take into consideration whether or not you plan to keep it outside or inside, and if you plan to use real or fake plants. We’ll show you some ideas for both.. Just keep in mind: Metal will get very hot in the sun so it’s best to use those inside, unless it has a paint coating, or you plan to add one. Porcelain and similar materials won’t give you good drainage, so be sure to keep those inside as well.
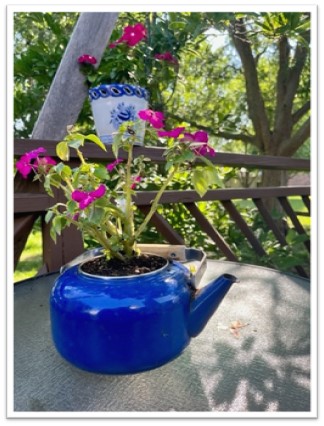
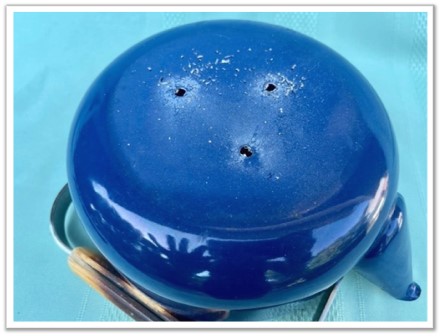
We found a teapot for an outdoor planter and a cake pan we’ll use for a rustic faux planter.
Step 2: Gather the rest of the items you’ll need:
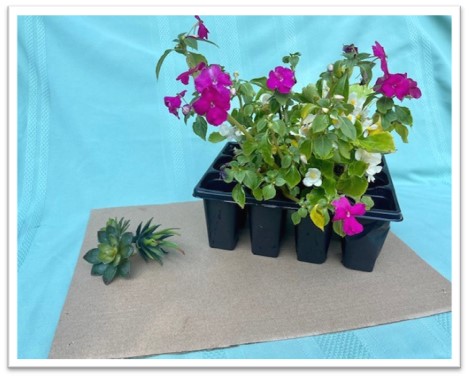
For live plants:
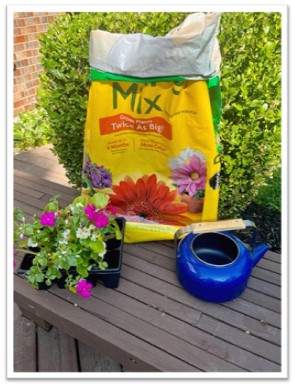
- Potting soil
- Flowers
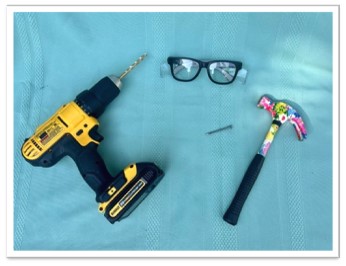
- A drill (you can also use a hammer and a nail if your planter isn’t too thick)
- Safety glasses
- Optional: Spray paint
Pro Tip: Flowers can be expensive too! Check out the discount garden section of your local hardware store. The flowers may look like they’re on their last leg, but they just need a little love in the form of sunlight and extra watering for a few days, and then they’ll be good as new!
For faux plants:
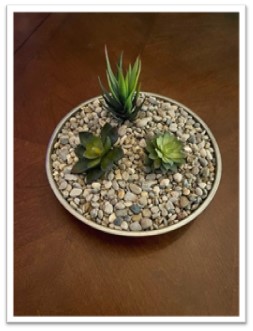
- Small or large rocks, sand, fake moss, or other material you will use to fill the planter. (We snagged some pea gravel from this blogger’s patio!)
- Faux plants, like flowers or succulents
- Optional: Spray paint
Step 3: Prepare your pots!
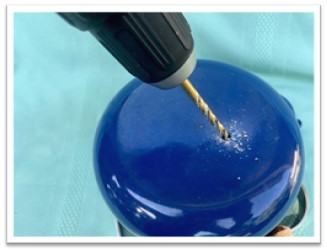
For live plants: You’ll need to drill or hammer 3-4 holes in the bottom of your pot so water doesn’t get trapped in the bottom, rotting your roots and soil. A drill is easiest but if you don’t have one, you can grab a hammer, a thick nail, and some elbow grease. Don’t forget to wear your safety glasses!
For faux plants: You won’t need drainage holes because your plants will never be thirsty. You can paint and decorate your pot however you’d like! If you’re looking to spice up your pot with an outdoor feel, check out this textured paint that will give your pot a whole new look: Rust-Oleum Imagine Matte Gray Textured Spray Paint. You can purchase it on Amazon, but it’s much cheaper at your local hardware store.
Step 4:
Fill your pots with soil, rock, moss – whatever you decide is best. Don’t fill it completely, leave a little room for the next step.
Step 5:
Add your flowers or succulents to the mix and spread your flowers around. Voila! You have a beautiful new planter to add to your outdoor or indoor décor!
Now, go enjoy your new project while it’s summer and the sun is shining!