
Summer is officially in full swing
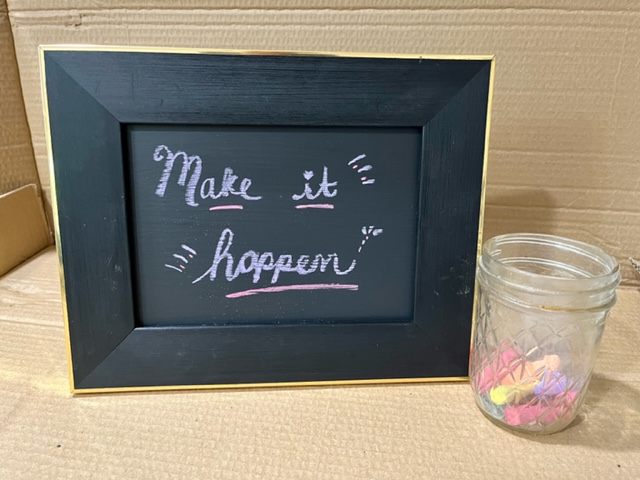
Our DIY chalkboard can be used to highlight your gathering’s menu items, pool rules, inspirational quotes, or even keep your grocery list for the week!
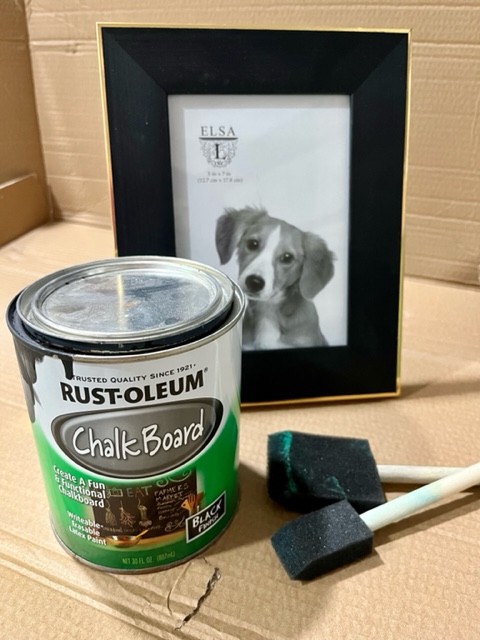
Summer is officially in full swing! It’s past time to break out the pool noodles and fire up the grill! In this month’s blog, we’re sharing a simple DIY project to help you welcome summertime. Our DIY chalkboard can be used to highlight your gathering’s menu items, pool rules, inspirational quotes, or even keep your grocery list for the week!
This project is also a great one to keep your little ones busy this summer. Whether they make the chalkboard themselves or you provide it to them as an “old school iPad” with fun chalk colors… it’s sure to be a hit.
Step 1: Gather your items!
All you’ll need is a frame or sign (you can find previously loved options at VOA Thrift!), chalkboard paint (you can find this on Amazon or at your local craft store), craft brushes, and additional paint colors if you’d like to spice up your design. You can also use a ruler if you’d like to measure out your paint area.
Step 2: Prepare your frame or board.
Clean off any dust and wait for it to dry. If you’d like to plan out where your paint will go, use a ruler to guide, measure, and mark.
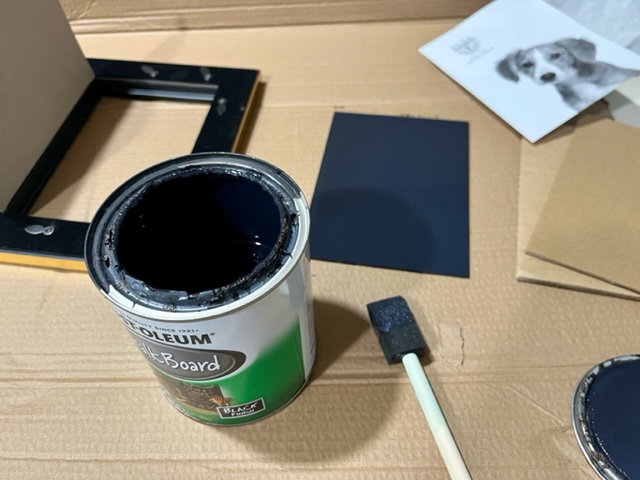
Step 3: Use your craft brush to apply chalkboard paint to the desired area.
Wait for it to dry and add another coat if necessary.
And there you have it! Grab some fun-colored chalk and start designing!
Get the items you need from VOA Thrift